Interacting With Flight Software
|
You need to have FSDK installed for this guide. |
This guide demonstrates how to interact with basic flight software using MCS.
The pre-made demo_linux Deployment will be used for the flight software.
Generating a Deployment
The demo_linux directory contains the source code for a simple flight software Deployment. It includes a TCP Client Component, which is used to connect to MCS.
Open a terminal in the FSDK root directory and use the following command to navigate to the OBSW/Source/demo_linux directory:
$ cd /OBSW/Source/demo_linuxUse the following command to generate the flight software Deployment:
$ codegen deployment generate .The following directory structure should be generated:
├── doc
│   ├── component
│   ├── csv
│   ├── deployment.html
│   ├── deployment.scdb
│   ├── styles
│   ├── summary
│   └── type
Loading the Deployment in MCS
The newly generated deployment.scdb needs to be loadded into MCS by using the Mission Management tab.
Start up the MCS server and client.
|
Refer to the MCS Getting Started Guide for further information about starting the MCS server and client. |
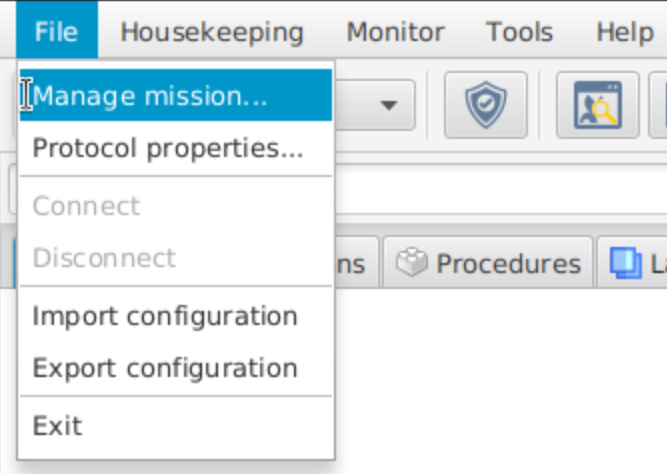
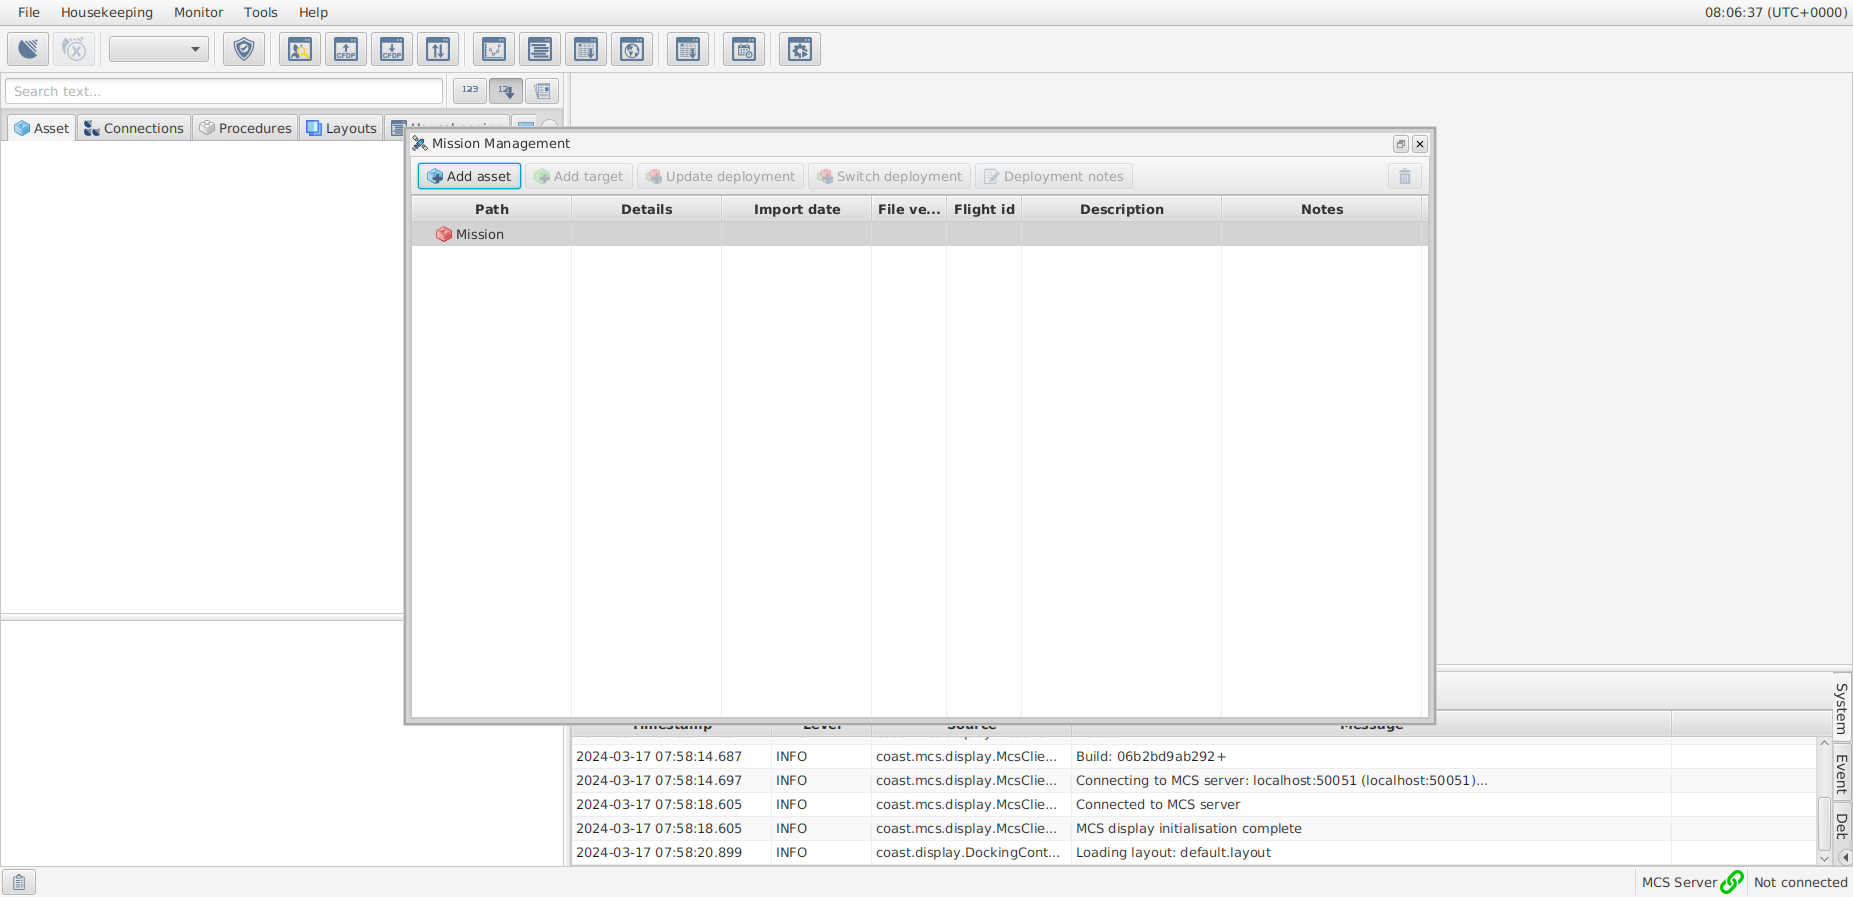
Navigate to File → Manage mission… to open the Mission Management dialog.
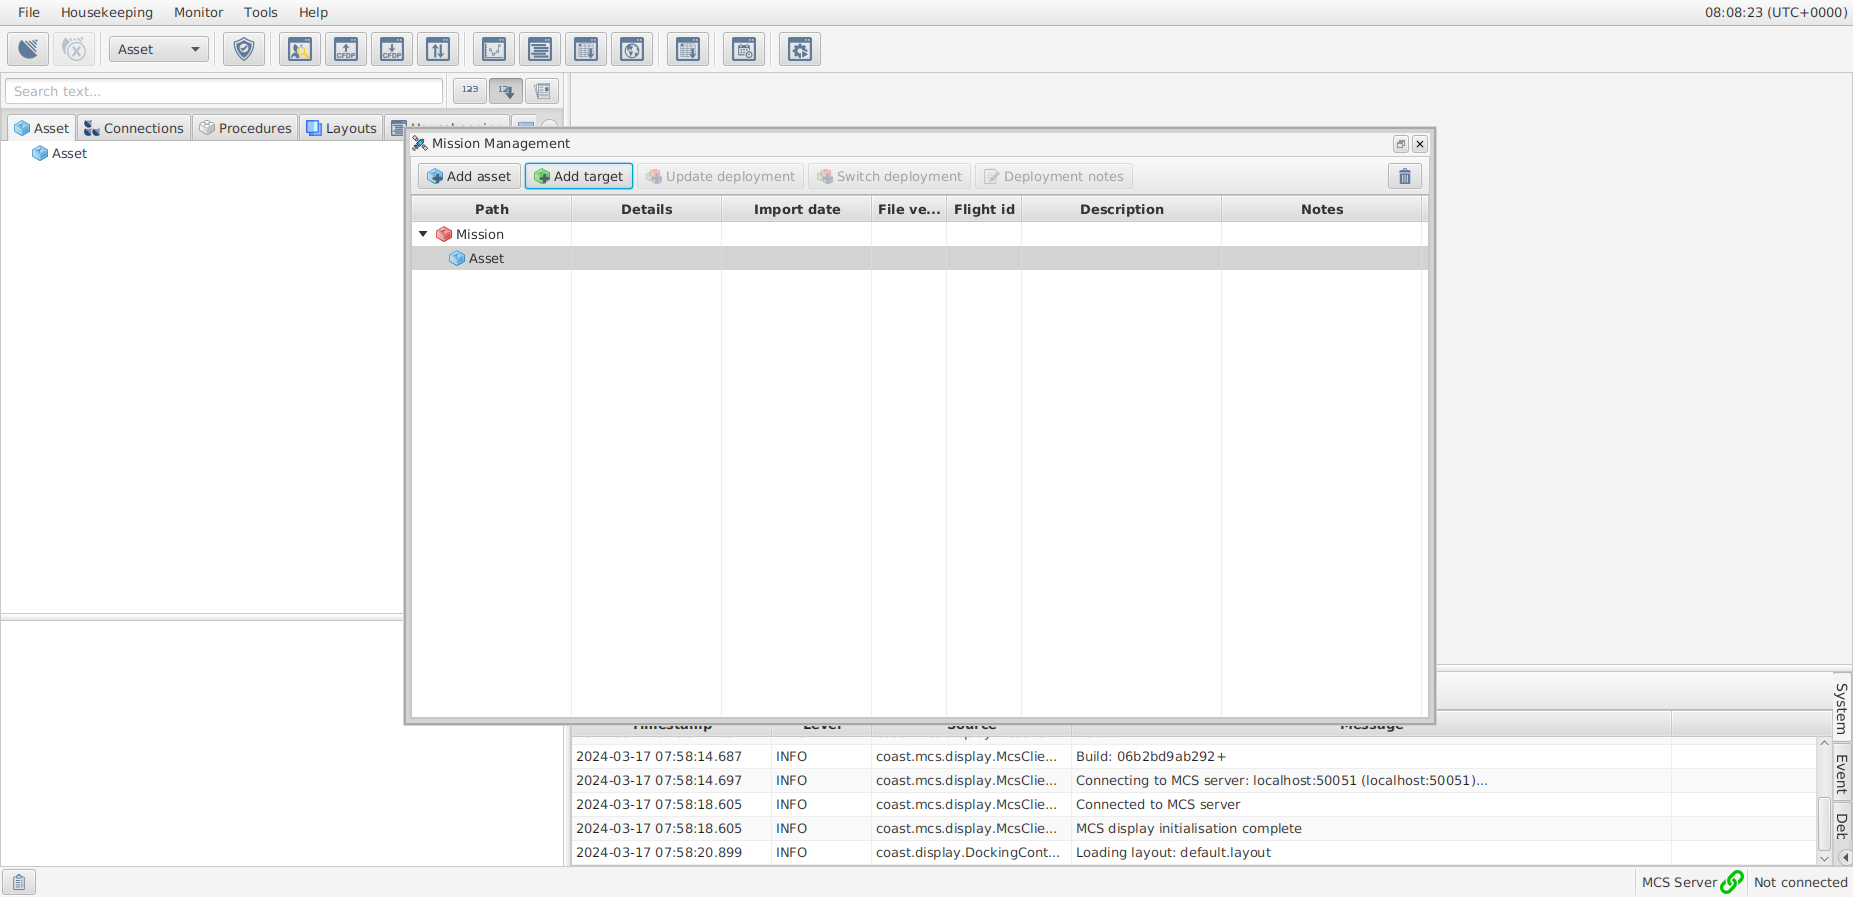
Select Mission and then select the Add asset button.
Leave the asset name as Asset and select the OK button.
Select the newly created asset and select the Add target button.
Leave the target name as Target and select the OK button.
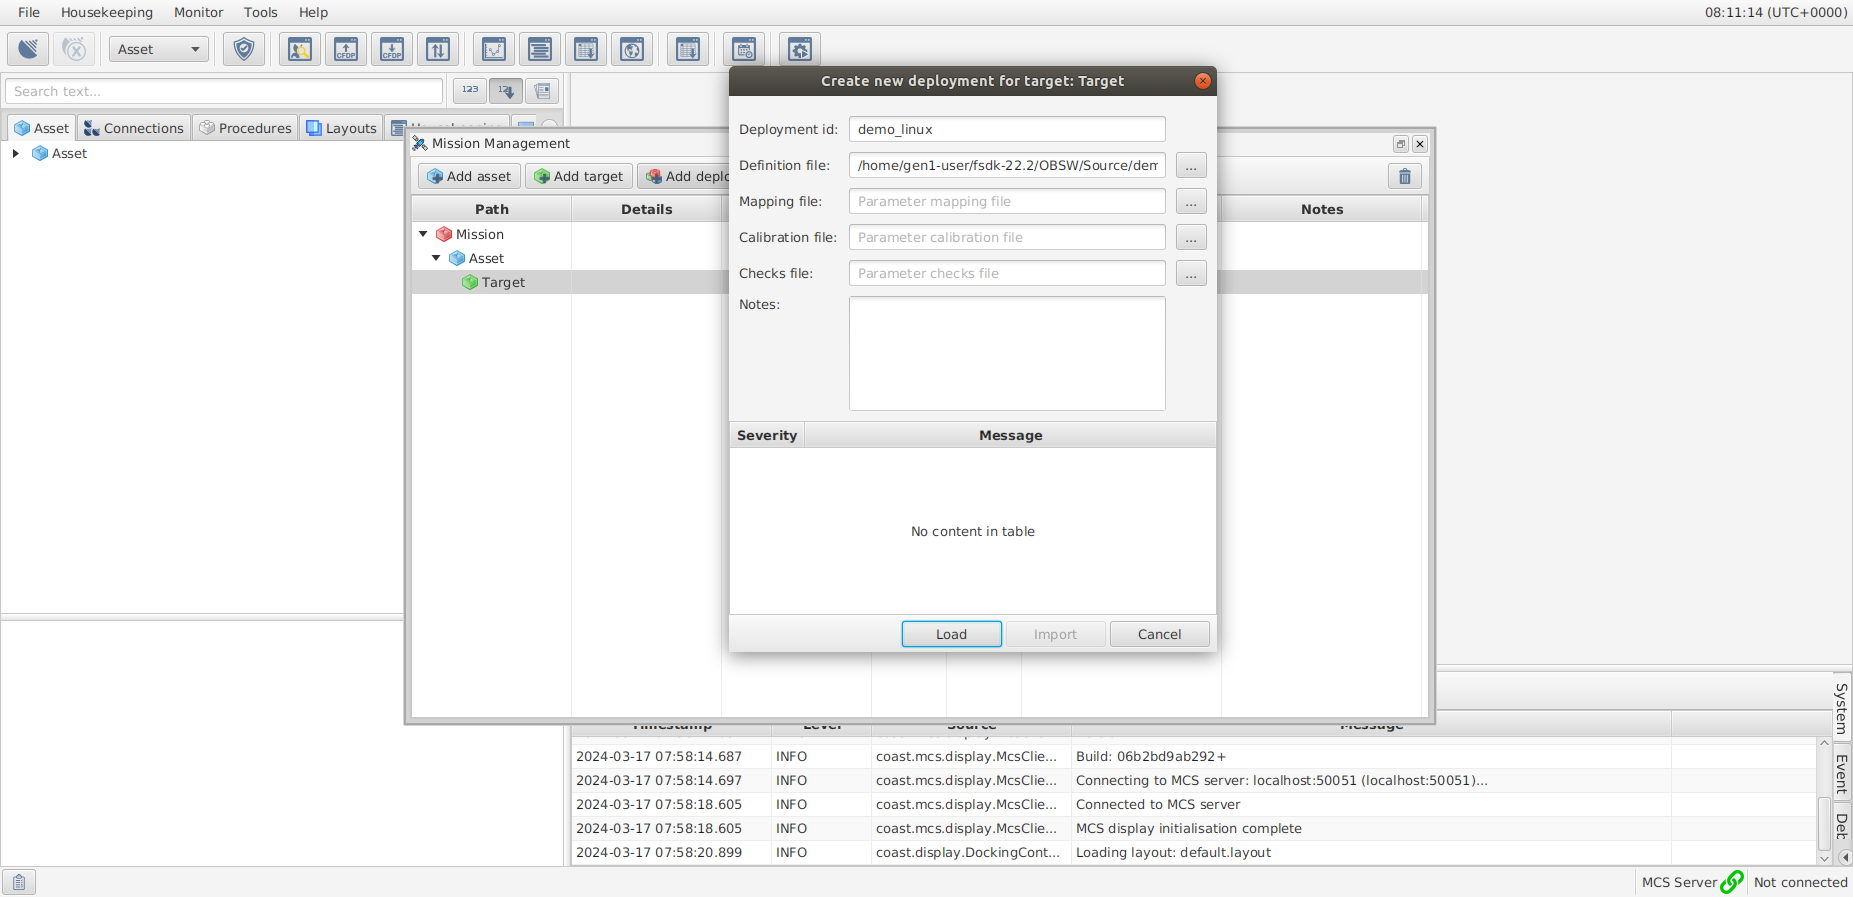
Select the newly created target and select the Add deployment button.
Select the … to the right of the Definition file: text box.
Navigate to the OBSW/Source/demo_linux/doc directory, select the deployment.scdb file, then select Open.
Enter a name for the Deployment in the Deployment id: text box, for example,demo_linux.
Select the Load button and then the Import button to load The Deployment into MCS.
The demo_linux Deployment should now be successfully loaded into MCS.
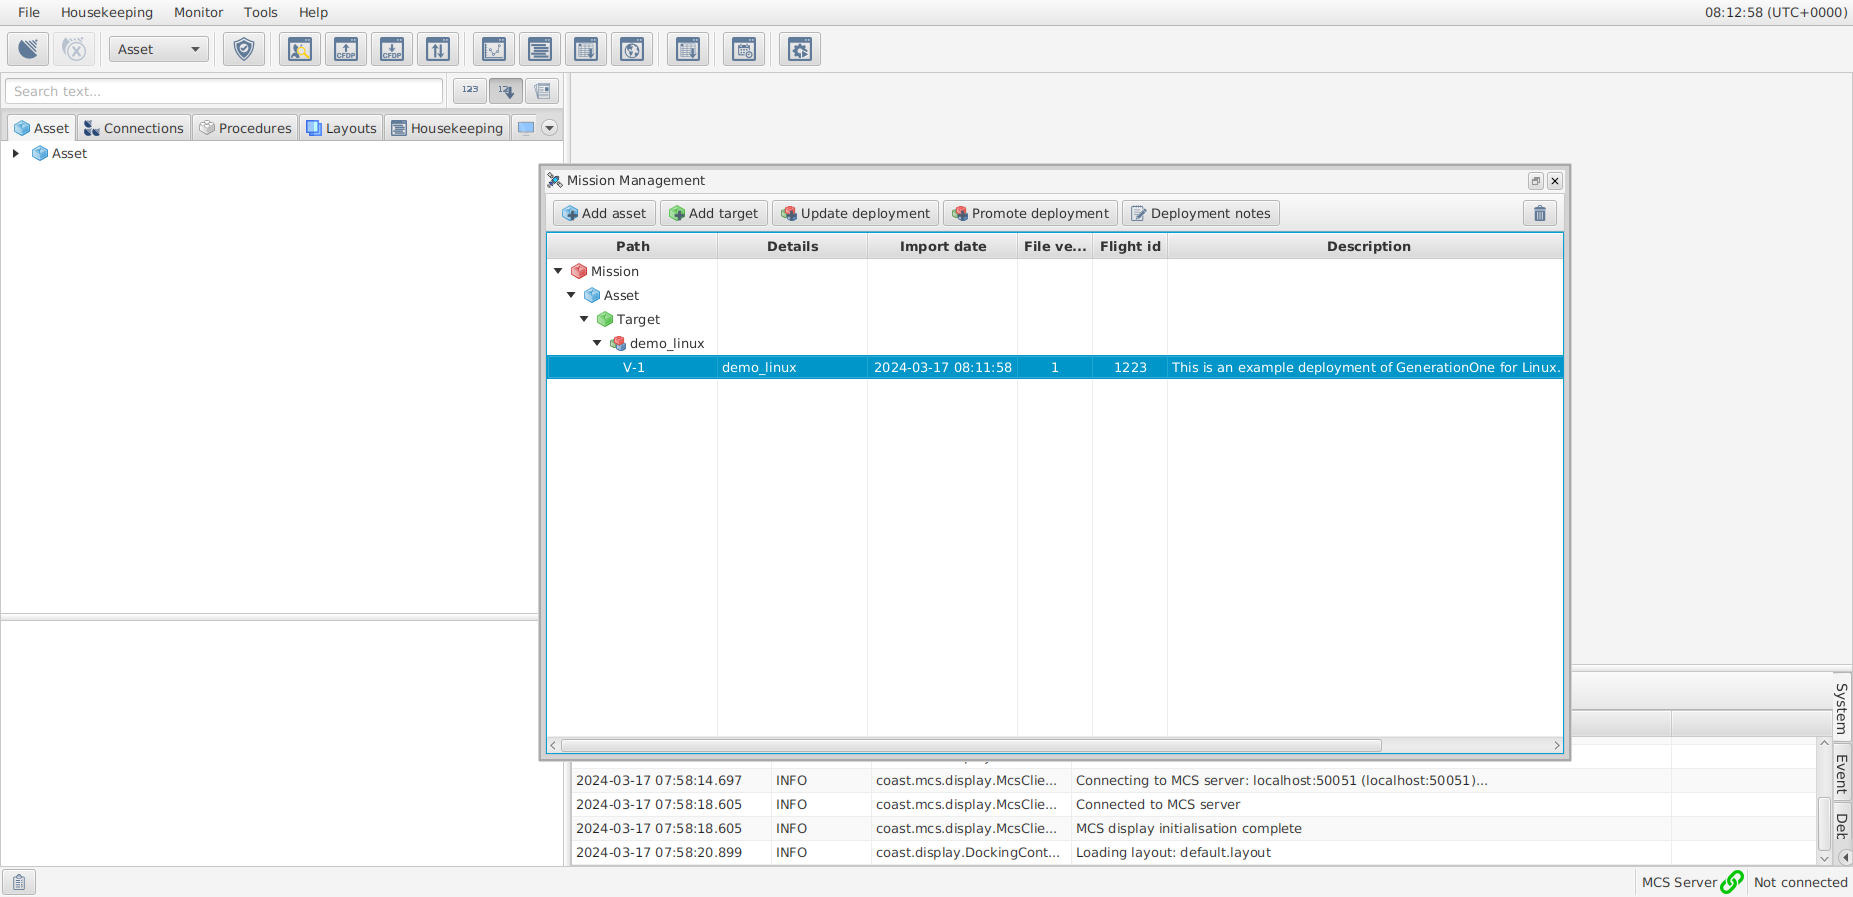
|
The complete Mission Management heirarchy contains a Mission (red brick), an asset (blue brick), a target (green brick) and a Deployment (RGB lego brick). |
Setting up a TCP Server Connection Point
To connect the MCS client to the OBSW, you must create a connection point.
Select the Connections tab in the Mission Explorer.
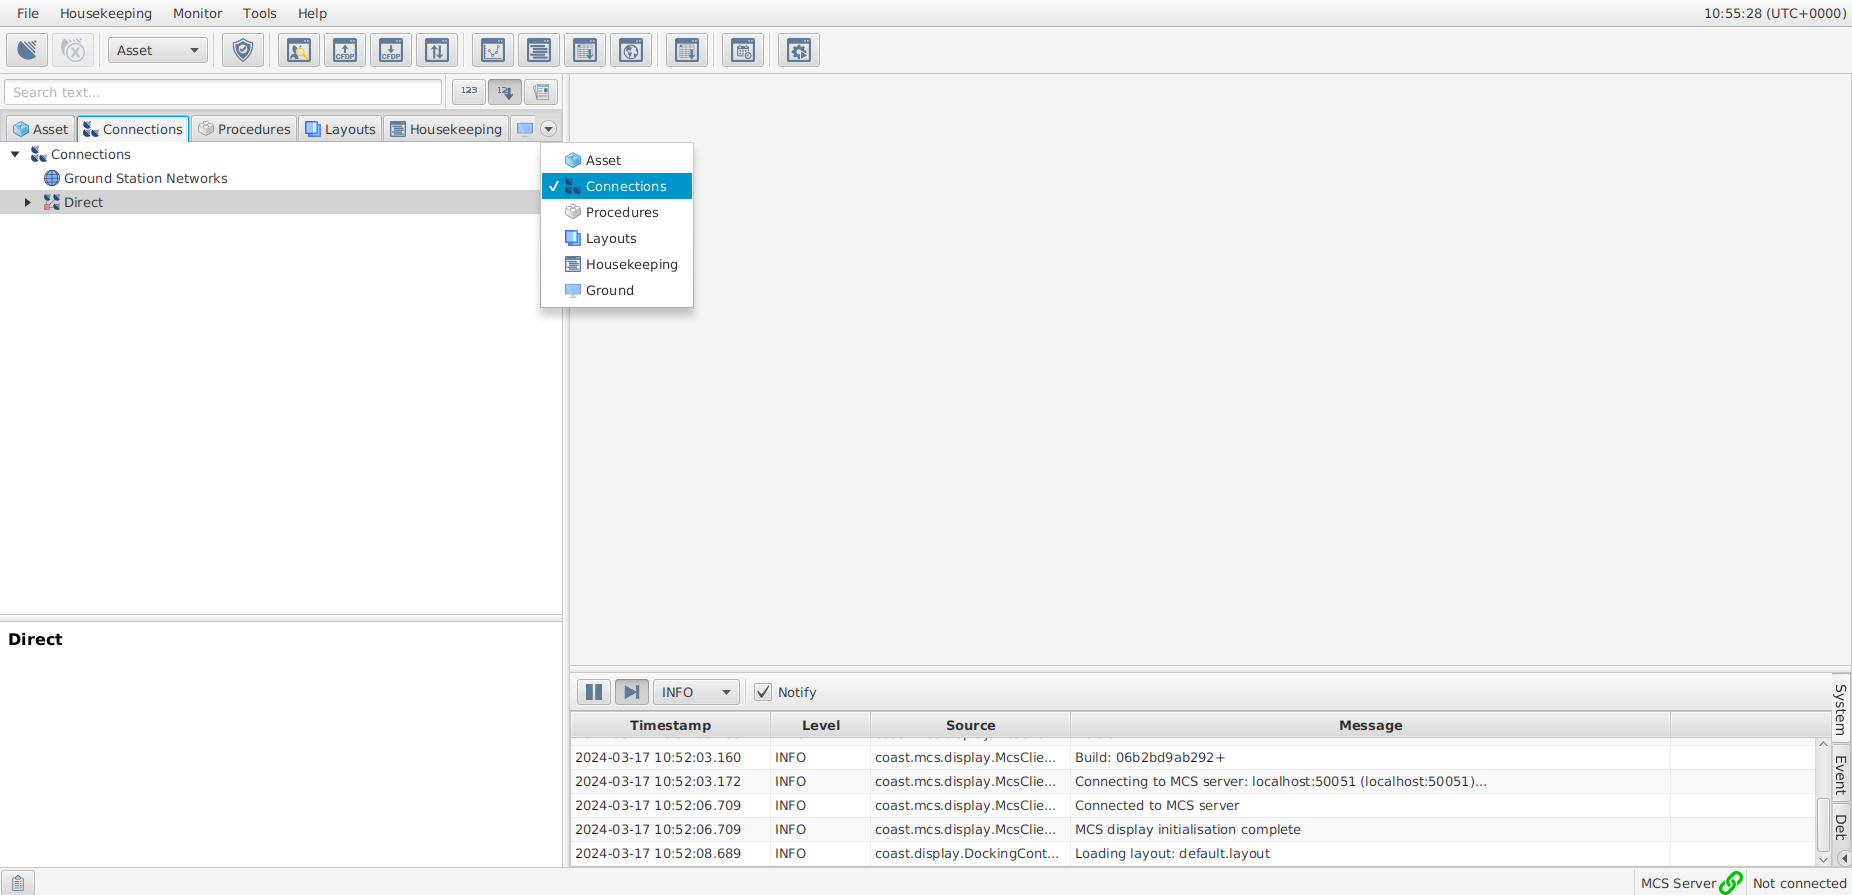
Right-click Direct in the Connections tab and select Add direct connection….
Enter a connection name in the Name: text box.
Select TCP Server in the Communication type dropdown selector. Ensure that the Port is set to 51423 and Framing is set to Packet stream
Select the Save button to add the connection point.

Start the TCP server by right-clicking the newly created connection, selecting Connect…, then selecting the Connect button.
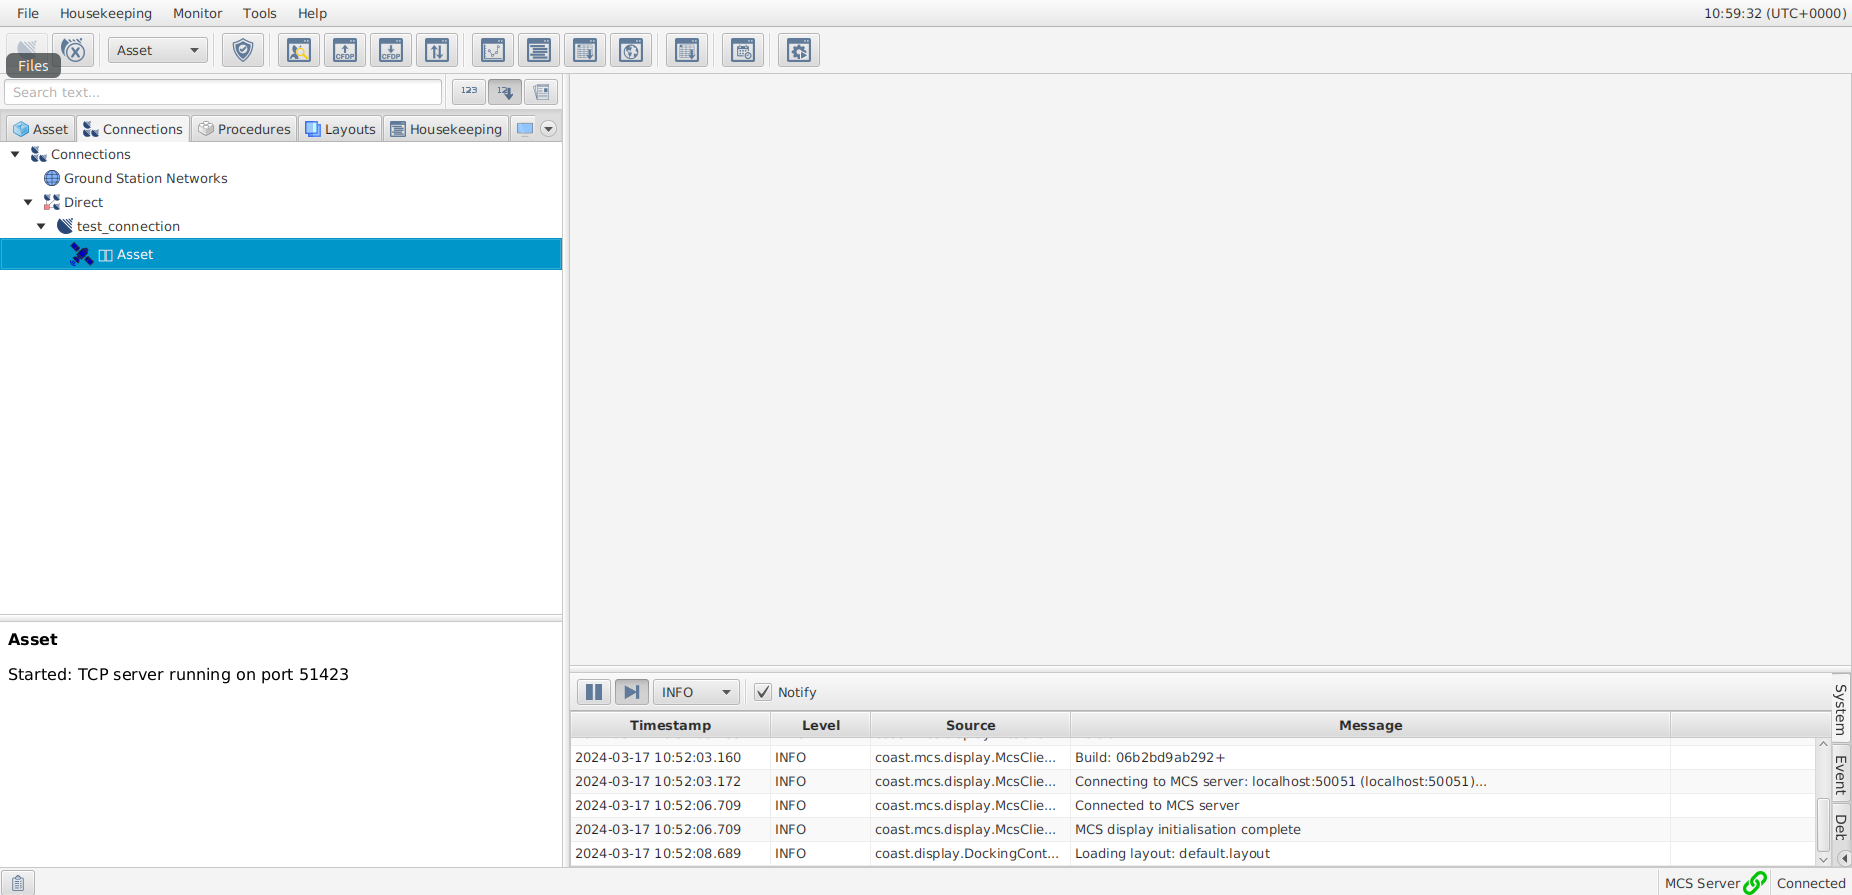
A blue connection indicator should appear in the MCS GUI. This server is running and awaiting a connection.
Running the Flight Software
Open a new terminal in the FSDK OBSW/Source directory and run the following commands to build the flight software binary file:
$ make -C app force target
$ make -C framework force target
$ make -C demo_linux force target
Execute the following command to start the flight software.
$ ./demo_linux/bin/linux/demo_linuxThe flight software will initialise and start running.
You should see the following output from the flight software:
INF: Main.c:67 Platform initialisation successful
INF: Deployment.c:36 Deployment initialisation successful
The flight software should now be connected to the server connection created earlier.
The Asset connection indicator for the TCP Server should now be green. This indicates that the flight software has connected to MCS.

Component Interaction
In this final section, you will interact with a simple Component using MCS.
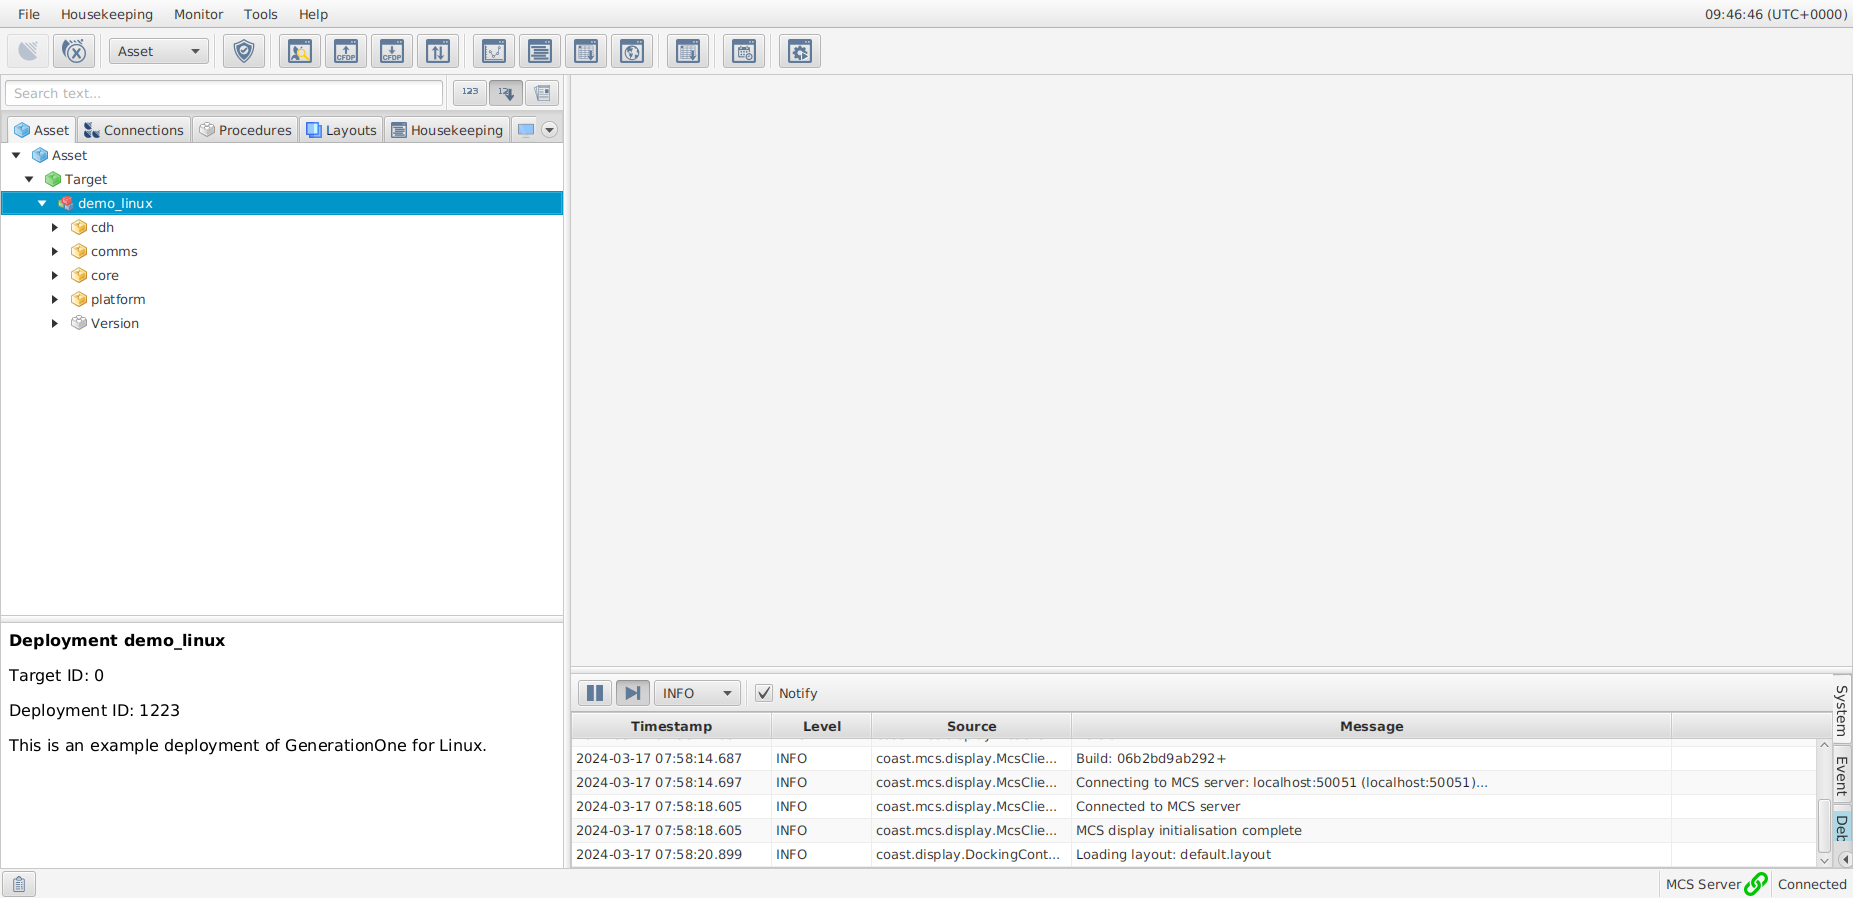
The Components which included in the flight software are visible the Asset tab of the mission explorer. The mission is represented by a red brick.
Unpack the asset, target, and Deployment hierarchy to display a mix of targets and Components.
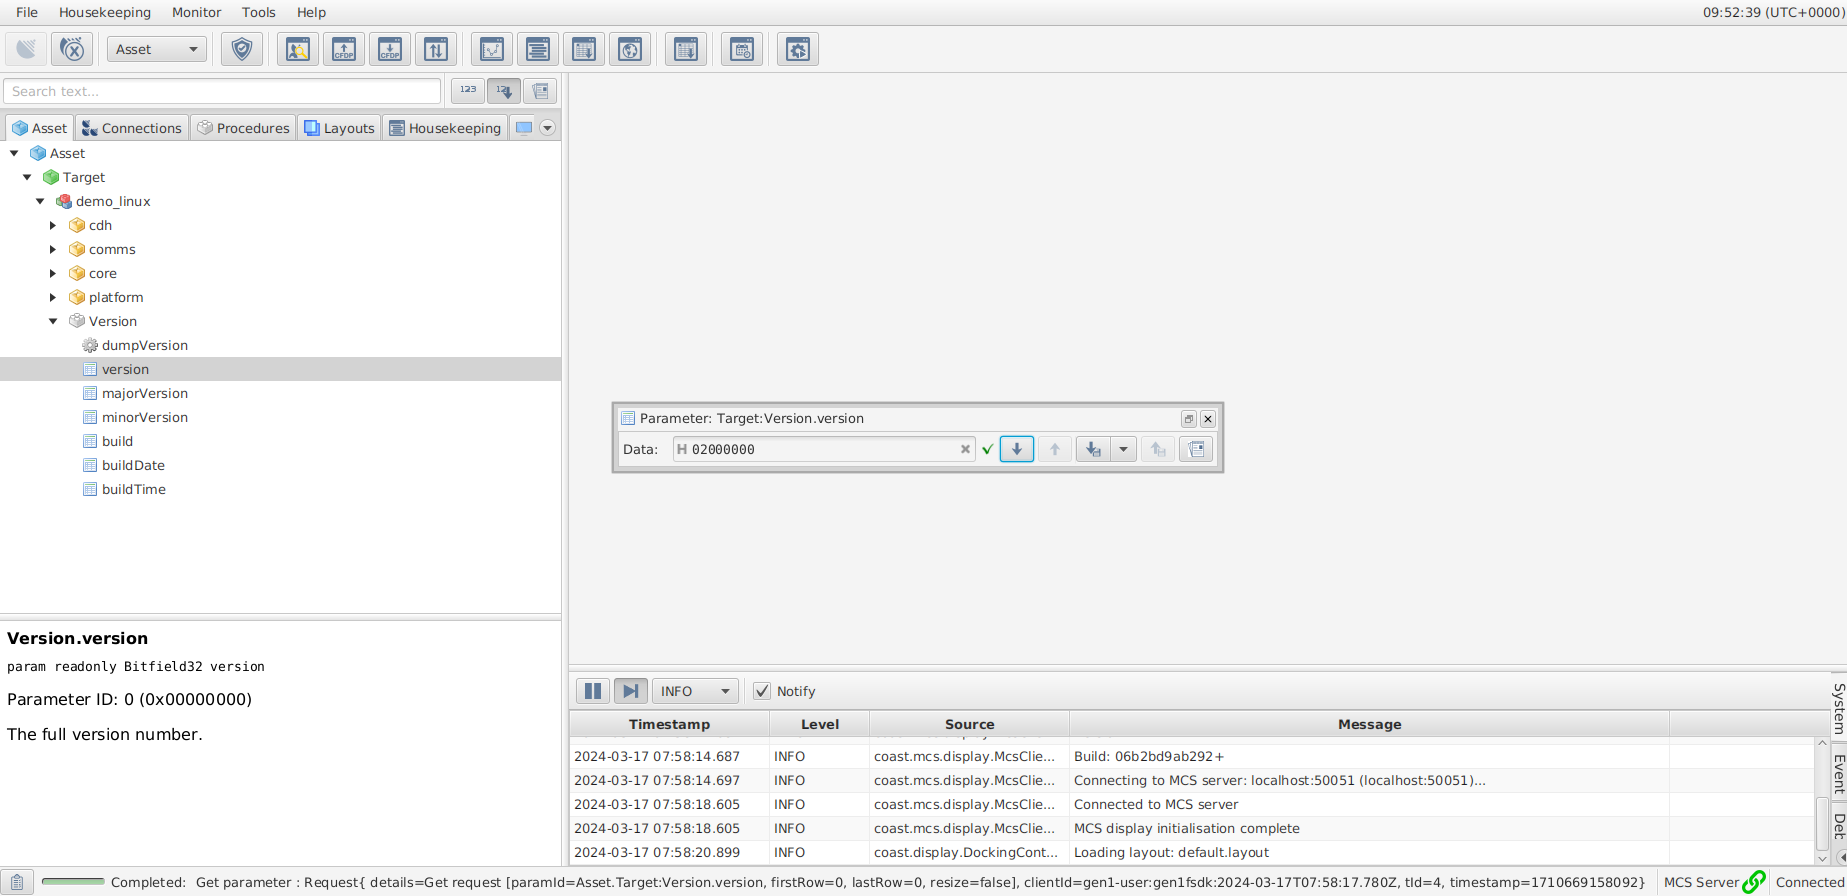
Invoking an Action
Locate and unpack the Version Component to display its Actions and Parameters.
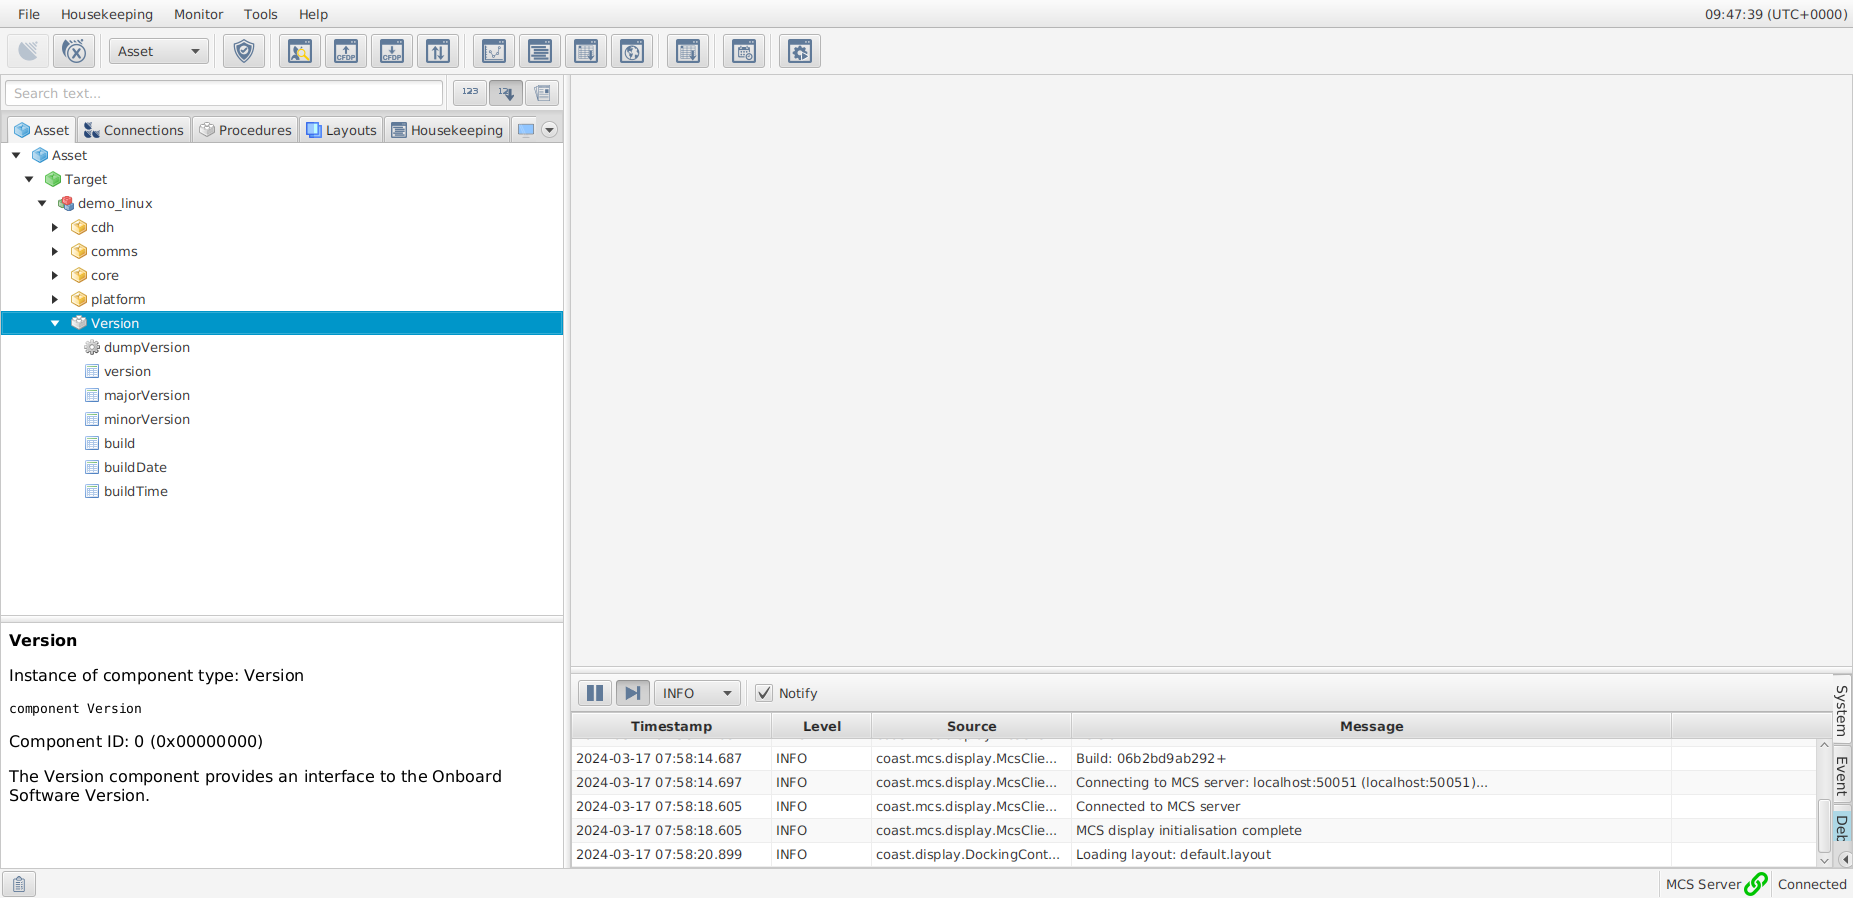
In the Component, locate the dumpVersion Action (represented by a cog icon). Double-click it to open the Invoke action dialog.
When invoked, the dumpVersion Action will output the software version running on the spacecraft to the console.
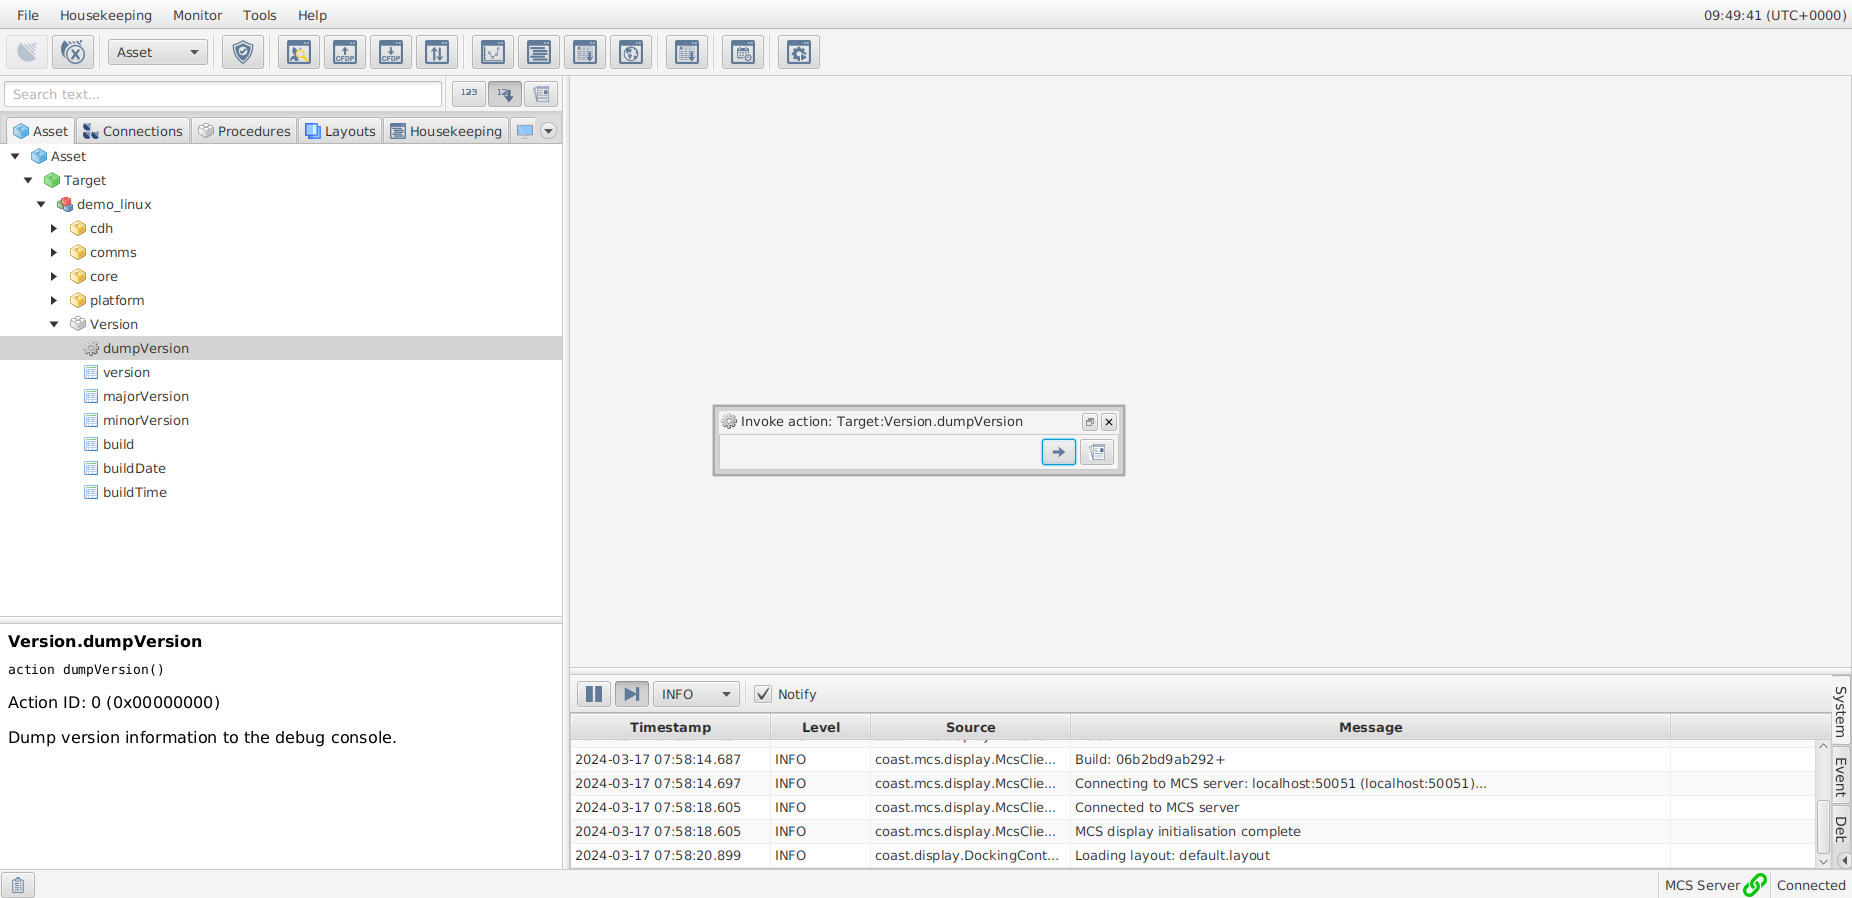
|
Some Actions may require Arguments to be provided before invoking them. Although |